The Basics of Cheesemaking: A Beginner’s Guide
Cheesemaking is an ancient and rewarding craft that allows you to transform simple ingredients into a delicious, homemade product. If you’re a beginner, the process may seem complex at first, but with the right guidance, you can create your own high-quality cheese in no time. This guide will walk you through the essential steps and techniques that every aspiring cheesemaker should know.
Essential Ingredients and Equipment
Before diving into the cheesemaking process, it’s important to gather the right ingredients and equipment. Here’s what you’ll need to get started:
Ingredients:
- Milk: The quality of milk is essential to cheesemaking. Fresh, whole milk is the best choice for most cheeses, but it should be unpasteurized or pasteurized (avoid ultra-pasteurized milk).
- Rennet: This enzyme helps curdle the milk, separating it into solid curds and liquid whey.
- Starter Culture: These beneficial bacteria are used to ferment the milk, contributing to flavor and texture.
- Salt: This is used to enhance the flavor of the cheese and also acts as a preservative.
Equipment:
- Large pot
- Thermometer (to monitor milk temperature)
- Cheesecloth
- Cheese molds (for shaping the cheese)
- Colander (for draining whey)
- Knife or curd cutter (for cutting curds)
- Cheese press (optional, for firmer cheeses)
Step-by-Step Guide to Making Cheese
Now that you have your ingredients and equipment, it’s time to start the cheesemaking process. Below are the steps for making your first batch of cheese:
- Heating the Milk:
Pour your milk into a large pot and heat it to the appropriate temperature. For most cheeses, you’ll want the milk to reach around 85°F to 90°F (29°C to 32°C). A thermometer will help you get it just right. Heating the milk helps create an ideal environment for the cultures to work. - Adding Starter Culture:
Once the milk has been heated, it’s time to add the starter culture. Sprinkle the culture over the surface of the milk and let it sit for about 5 minutes. Then, stir gently to incorporate it into the milk. - Adding Rennet:
Now, add the rennet to the milk. Dilute it in a small amount of cool, non-chlorinated water before adding it to the pot. Stir gently for about 30 seconds, then cover the pot and allow the milk to sit undisturbed for 30 minutes to 1 hour. During this time, the milk will begin to coagulate, forming curds and separating from the whey. - Cutting the Curds:
After the curds have formed, use a knife or curd cutter to cut them into small, uniform pieces. The size of the curds will affect the final texture of your cheese. Smaller curds result in a firmer cheese, while larger curds yield a creamier texture. - Cooking and Stirring:
Slowly heat the curds and whey to about 120°F (49°C), stirring gently to keep the curds from clumping together. This step helps the curds release more whey and results in a firmer cheese. - Draining the Whey:
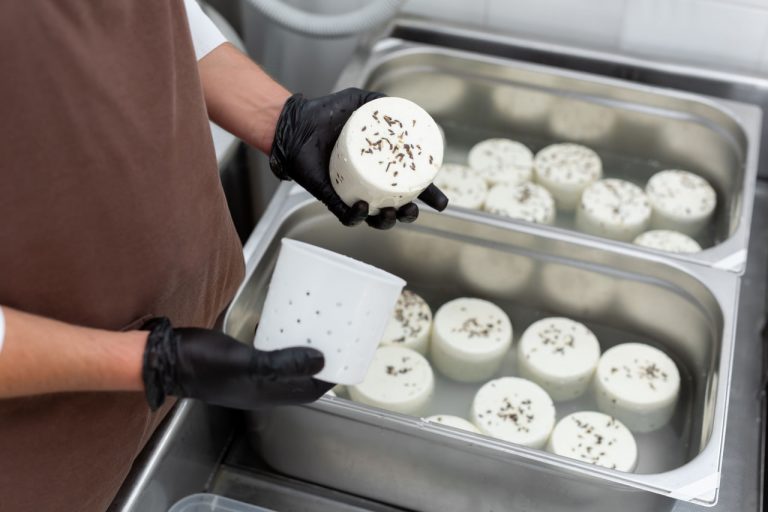
Once the curds have reached the desired texture, pour the mixture into a colander lined with cheesecloth to drain off the whey. Gently fold the cloth around the curds and let the whey drain away. You can save the whey for use in other recipes or for feeding animals. - Pressing the Cheese:
For cheeses that require pressing, transfer the curds into a cheese mold. Use a cheese press to apply gentle pressure to the curds, encouraging them to release any remaining whey and take on a solid form. The pressing time can vary depending on the type of cheese you’re making. Some cheeses need only a few hours, while others may require overnight pressing. - Salting the Cheese:
Once your cheese is properly pressed, it’s time to salt it. You can either rub salt directly onto the surface of the cheese or soak it in a salt brine solution. Salt enhances the flavor, helps preserve the cheese, and draws out excess moisture.
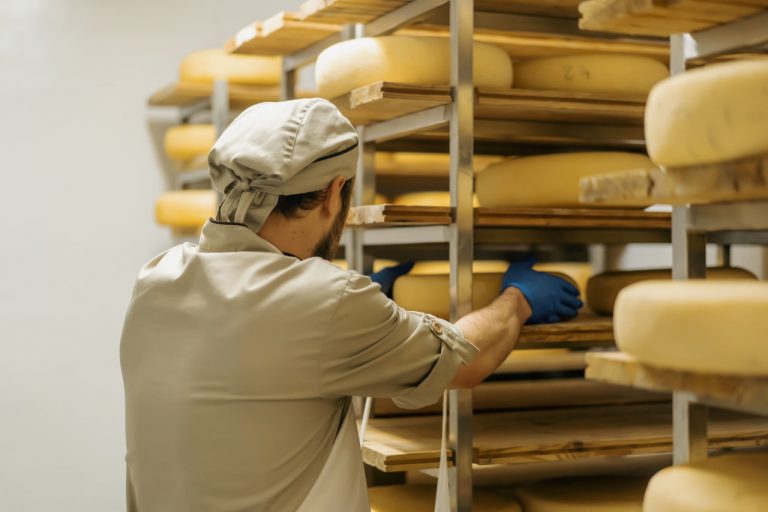
Aging Your Cheese
After your cheese is formed and salted, it may need to age, depending on the type of cheese you’re making. Aging is a crucial step for many cheeses, as it develops their flavor and texture. Some cheeses, like fresh mozzarella, are ready to eat immediately, while others, like cheddar or gouda, require weeks or even months of aging. Store your cheese in a cool, humidity-controlled environment, and check it regularly to monitor its progress.
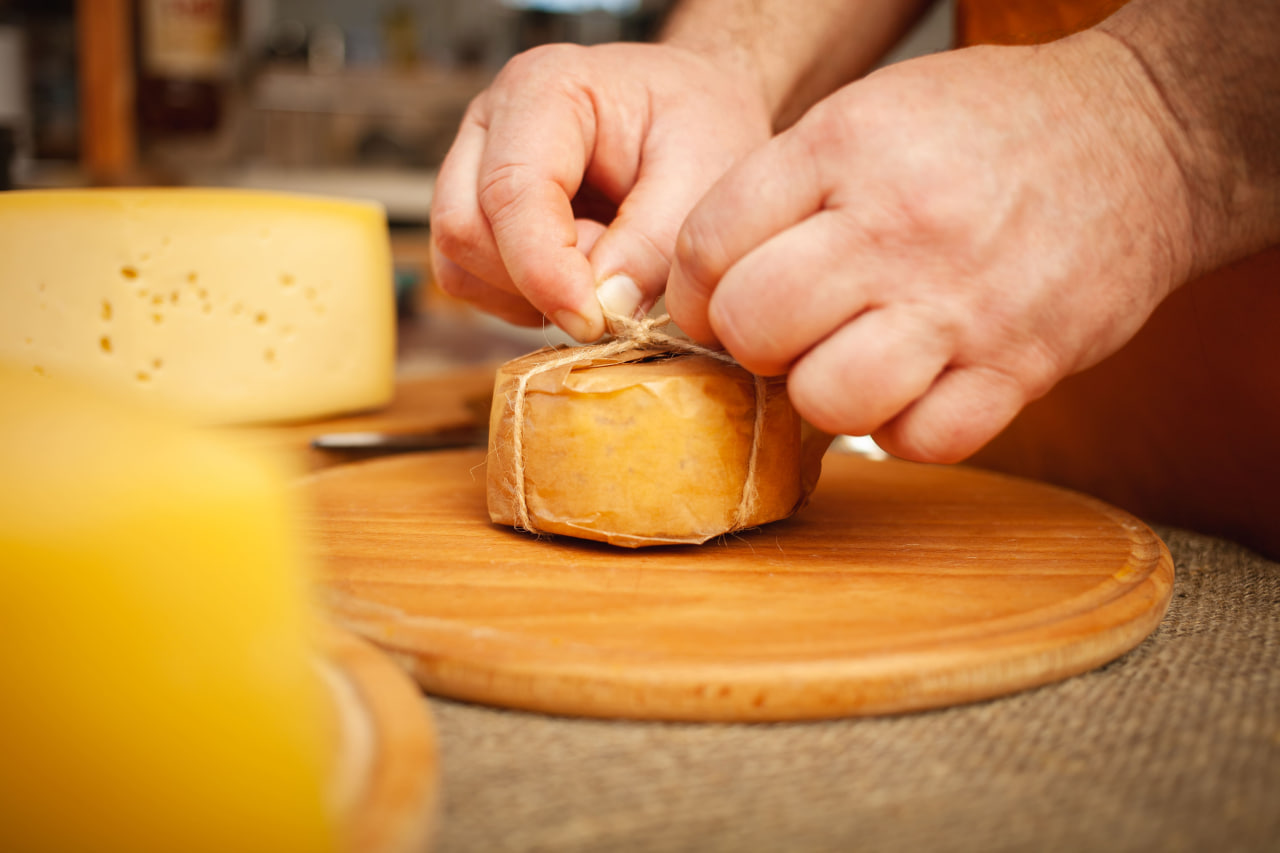
Conclusion
Making your own cheese can be an incredibly rewarding and enjoyable experience. By mastering the basics—understanding the essential ingredients, following the steps carefully, and practicing regularly—you’ll be well on your way to creating a variety of delicious, homemade cheeses. As you gain more experience, you can experiment with different flavors, techniques, and aging processes, opening up a whole world of cheesemaking possibilities.