How to Make Your First Cheese: A Beginner’s Guide
If you’ve ever dreamed of making your own cheese but didn’t know where to start, you’re in the right place. Cheesemaking is an ancient art that’s easier to master than you might think, and you don’t need to be an expert to create delicious homemade cheese. In this article, we’ll walk you through the basics of cheesemaking, providing you with the steps and tips to make your first cheese at home.
Step 1: Choose the Right Cheese Recipe
Before you begin, it’s important to choose the right recipe for your first cheese. Fresh cheeses like ricotta, paneer, or mozzarella are excellent choices for beginners because they require less time and are forgiving in terms of temperature and technique. Once you’ve selected a recipe, gather all the ingredients and tools you’ll need. Most recipes will require just a few basic ingredients such as milk, rennet, and citric acid or vinegar, along with a few essential tools like a thermometer and a cheesecloth.
Tips for choosing your first recipe:
- Start with simple, fresh cheeses that don’t require aging.
- Look for recipes that use readily available ingredients, like cow’s milk, rennet, and salt.
- Avoid complicated recipes with multiple steps for your first attempt.
Step 2: Prepare Your Milk
The next step is to prepare your milk. For most cheeses, fresh, whole milk is the best option, as it contains more fat and provides a richer texture. If you’re using pasteurized milk, you may need to add calcium chloride to restore some of the calcium lost during pasteurization. Raw milk is preferred by some cheesemakers because it naturally contains the bacteria needed for fermentation, but make sure you’re following local regulations for its use.
Pro tip:
- Always heat your milk slowly and monitor the temperature carefully to avoid scalding it.
- Use a thermometer to ensure you reach the right temperature for your chosen recipe.
Step 3: Add Starter Culture and Coagulate the Milk
Once the milk has reached the right temperature, you’ll need to add your starter culture or acid (citric acid or vinegar). This step begins the coagulation process, where the milk separates into curds and whey. At this point, rennet is added to further assist in curdling the milk. After adding the rennet, cover the pot and allow the milk to rest for the required amount of time (usually 30 minutes to an hour).
Tips for this step:
- Stir gently and avoid splashing, as it could disturb the coagulation process.
- Let the curds form properly before moving on to the next step. A clean break test is a simple way to check if the curds are ready. Insert a knife into the curd and pull it apart gently; if the curd breaks cleanly, it’s ready to be cut.
Step 4: Cut the Curds
Once the milk has set and the curds have formed, it’s time to cut them. The size of the curds you cut will depend on the type of cheese you’re making. For soft cheeses like ricotta, you can make larger curds, while firmer cheeses like cheddar will require smaller curds. Use a curd knife to cut the curd into even pieces, making sure not to disturb them too much.
Pro tip:
- Use a long knife to cut straight down through the curds to get even, uniform pieces.
- Smaller curds will lead to drier cheese, while larger curds will retain more moisture.
Step 5: Heat and Stir the Curds
After the curds are cut, they need to be gently heated and stirred. This process helps the curds expel excess whey and develop a firmer texture. Slowly raise the temperature of the curds over the next 30 minutes or so, stirring gently to keep them from clumping together. Be sure to follow your recipe’s recommended temperature and stirring times for the best results.
Tips for this step:
- Stir the curds gently to prevent them from breaking apart or becoming too fine.
- If you’re making a cheese that requires a firmer texture, such as cheddar, you may need to press the curds after heating to expel even more whey.
Step 6: Drain the Whey
Once your curds have reached the right consistency, it’s time to drain the whey. Set a cheesecloth or strainer over a bowl or sink, and gently pour the curds into it, allowing the whey to drain away. Depending on the type of cheese you’re making, you may want to retain some whey to use in other recipes, or you can discard it.
Pro tip:
- Use cheesecloth or a fine-mesh strainer to ensure the curds are separated completely from the whey.
- Save the whey for other uses such as baking bread or making ricotta.
Step 7: Press the Cheese (If Needed)
Some cheeses, like cheddar or gouda, require pressing to remove additional whey and firm up the texture. To do this, place your curds into a cheese mold and apply pressure, either manually or using a cheese press. The pressure will help the curds compact into a solid mass and create the desired consistency for your cheese.
Pro tip:
- Press the cheese gradually to avoid breaking the curd structure.
- The pressing time will vary depending on the type of cheese you’re making, so refer to your recipe for specific instructions.
Step 8: Salt the Cheese
After pressing, your cheese should be salted to enhance flavor and help preserve it. You can either add salt directly to the curds or rub it onto the surface of the cheese, depending on the type of cheese. Salt acts as both a flavor enhancer and a preservative, so it’s an important step in the cheesemaking process.
Pro tip:
- Be sure to use the right amount of salt for the type of cheese you’re making.
- Salt helps form a rind on the cheese and contributes to its texture and flavor.
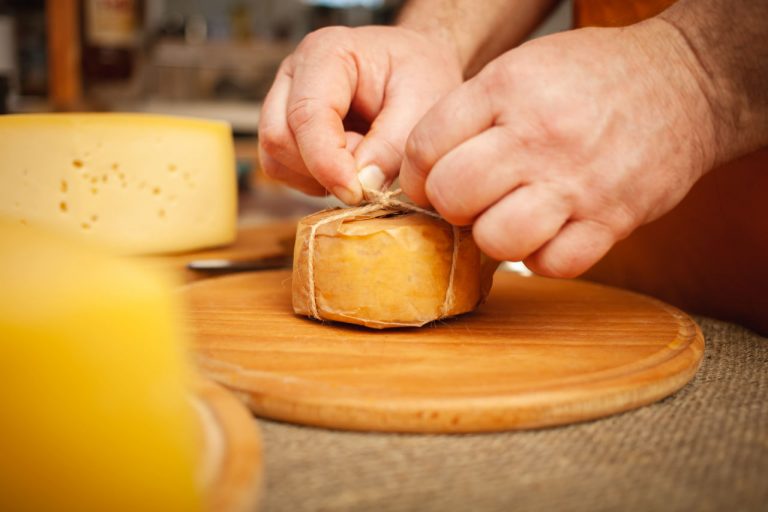
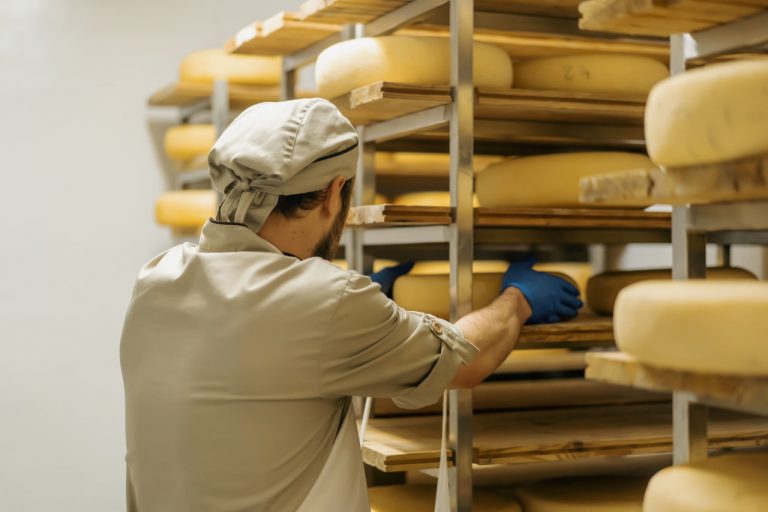
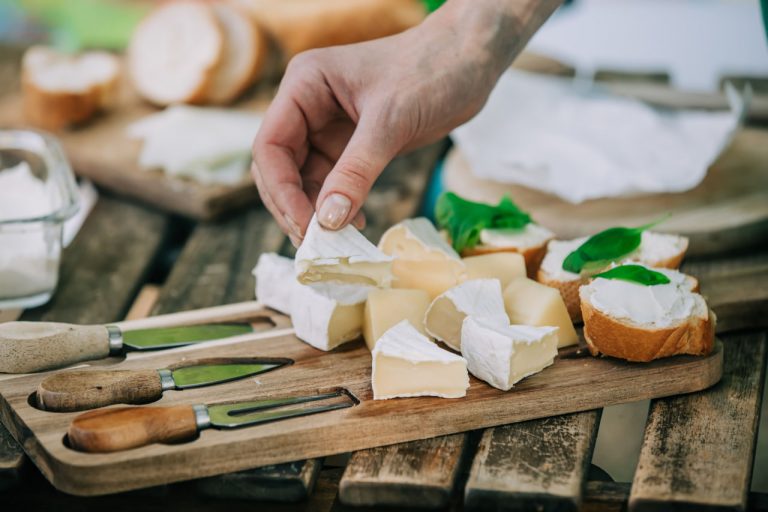
Step 9: Let the Cheese Age (If Needed)
Depending on the type of cheese you’re making, you may need to let your cheese age for a few days, weeks, or even months. Cheese aging allows the flavors to develop and gives the cheese its characteristic texture and appearance. Store your cheese in a cool, dry place or a cheese cave if possible, flipping it regularly during the aging process.
Pro tip:
- For fresh cheeses, you can enjoy them right away after making them.
- Hard cheeses like cheddar or gouda will need to be aged for several weeks to months for the best flavor.
Conclusion
Making your first cheese may seem like a daunting task, but by following these steps and practicing, you’ll soon gain confidence and skills to make a variety of cheeses. The most important thing is to enjoy the process and experiment with different types of cheeses as you grow your cheesemaking skills. Whether you’re making cheese for the first time or perfecting your technique, remember that patience and practice are key to crafting delicious cheeses from scratch. Happy cheesemaking!